
Introduction
Learn how to use the make:code editor to upload code to the micro:bit!
-
-
Let's assemble our robot so we can get started.
-
We need to assemble the main board first - this is the brain of the robot, and controls everything it does!
-
So we can use it without the cable plugged in, turn the board over and insert the batteries. Make sure they are the right way around.
-
Next, plug in the micro:bit to the long black connector - make sure it is the same way round as the picture, with the LEDs and buttons facing forwards.
-
-
-
Next, plug the main board and motors into the baseboard, just like the picture.
-
Use the two yellow/white cables to connect the two motors to the main board.
-
Make sure you plug the left motor into M1 and the right motor into M2!
-
-
-
We will use an online editor called Microsoft make:code to write the programs for our robot.
-
As its online, you can use it anywhere and don't need to install anything! Go to techcamp.org.uk/invent to get started.
-
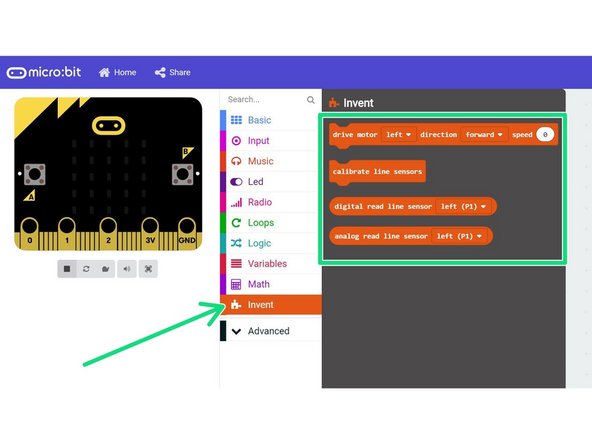
This will load the editor with some custom blocks already setup we have made for you, to help with controlling things like the motors easily. Check you have the Invent orange option in the blocks menu.
-
Each time you want to make a new program, make sure you open the editor by going to techcamp.org.uk/invent otherwise you won't have these Invent blocks available.
-
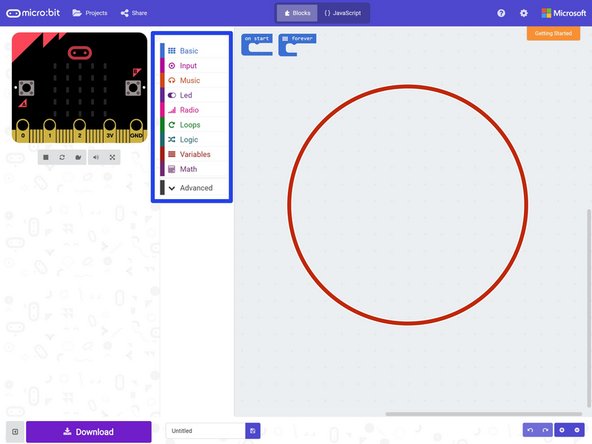
You can build your program in the large area on the right hand side, by putting blocks together in a sequence
-
You can access the blocks using the menu on the left
-
The code is saved automatically in the browser - if you want to keep programs to use them another day, make sure you save them in your personal files, or on a memory stick. We'll show you how to do this in a minute.
-
-
-
Finally, let's make a test program to make sure everything works.
-
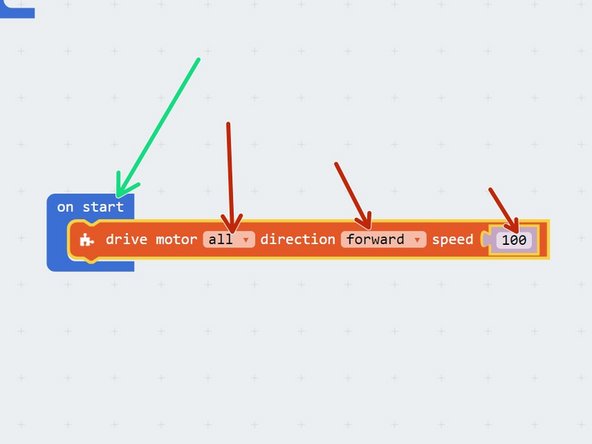
Drag in a motor block from the invent menu, and put it inside the on start block.
-
Change the block (just click on anything you need to change!) so it looks like the picture - it should drive all the motors forward, at speed 100.
-
-
-
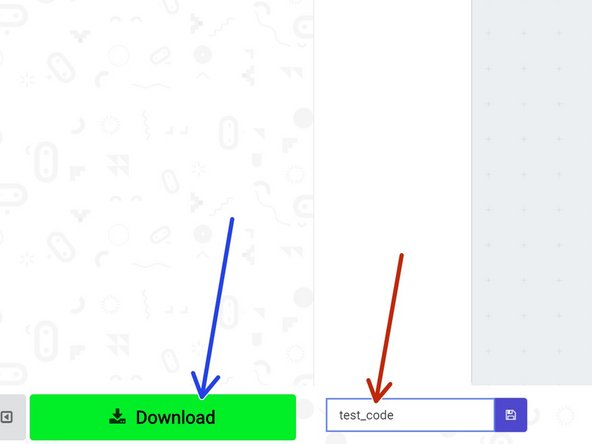
It's always important to name your program, so you know what it does later!
-
In the box in the bottom left, name your program test_code .
-
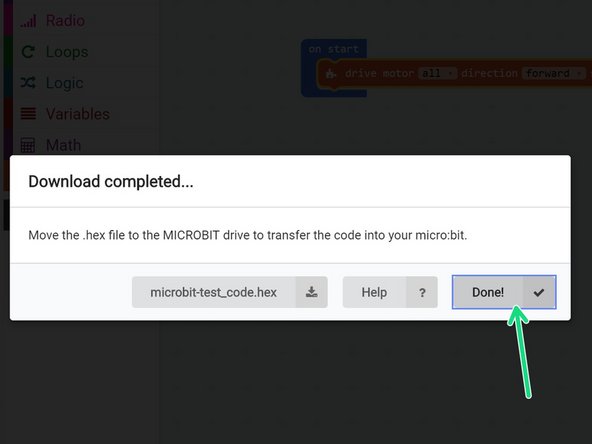
Finally, click the download button. This will save the program to your computer, so we can upload it to the robot.
-
When the download finished, click Done!
-
-
-
The file we just downloaded is a HEX file - this is what we need to send to the micro:bit to make the program run.
-
Plug in your micro:bit with the USB cable.
-
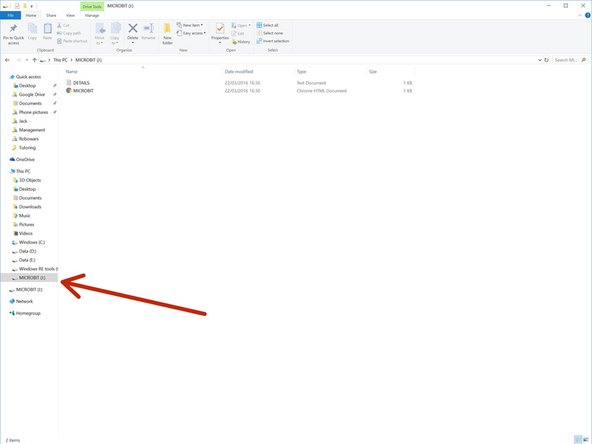
If this is the first time the micro:bit has been plugged in, the computer might do some setup - once its finished, the micro:bit should appear like a USB drive.
-
Open up the File Explorer, and click on the MICROBIT drive that has appeared. It should look like the picture.
-
-
-
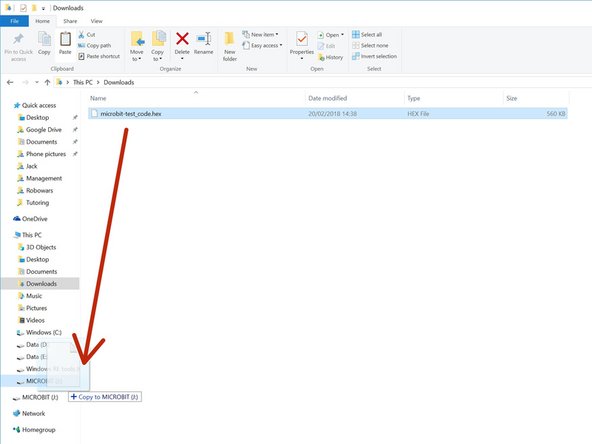
All we need to do is copy the HEX file to the MICROBIT drive!
-
Go to the Downloads folder, and drag the microbit_test_code.hex file onto the MICROBIT drive.
-
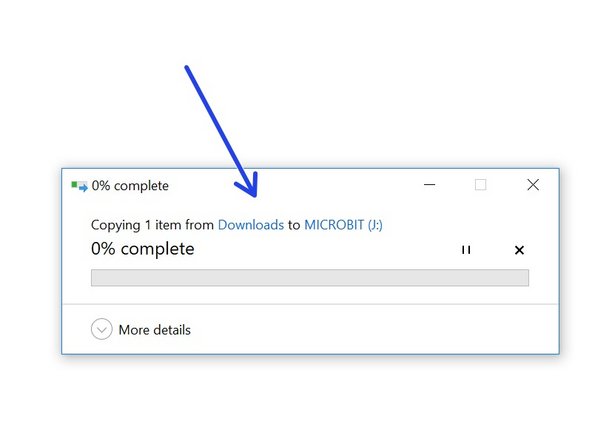
Wait for it to copy, and that's it!
-
Unplug the USB cable and turn on the power switch on the circuit board to start the program.
-
The program will run automatically - make sure your robot doesn't run off the table!
-
-
-
Don't forget, everything you do is only saved in the browser.
-
Just in case, it's a good idea to copy any important HEX files you download that you might want again later to your personal files, or a memory stick.
-
You can then load these files in the editor later to get your code back!
-
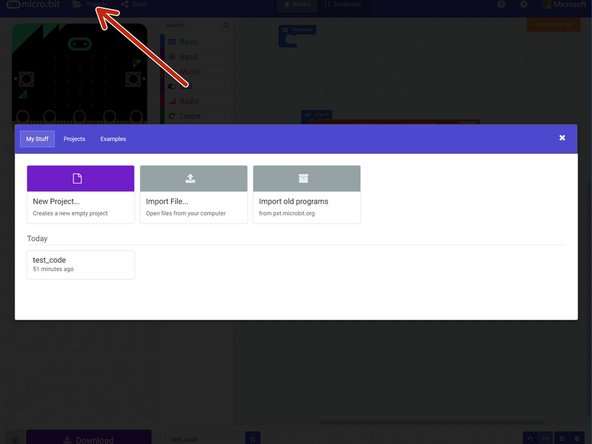
If you want to look at everything you've done so far, or load an old project, simply click the Projects button in the top left of the screen.
-
We're all done! Head onto the next section.
-


Team
