Introduction
Using some switch sensors and clever coding, let's make your robot safely navigate the Martian rock fields!
-
-
Setup your robot like in the picture!
-
Make sure the switch module is at the front, and in the middle of the baseboard.
-
The left motor should be plugged into M1, the right motor into M2 and the switch into A.
-
The trackball should be directly under the switch!
-
-
-
The Martian surface is very rocky - there are lots of things the robot would get stuck on if it just drove forward. We are going to use switches to detect obstacles, and try to drive around them.
-
For now, let's make a program to drive forward, and stop if we hit an obstacle.
-
Add some blocks inside the IF block conclusion to stop the robot when an obstacle is hit.
-
Test your program using your hand as an obstacle!
-
-
-
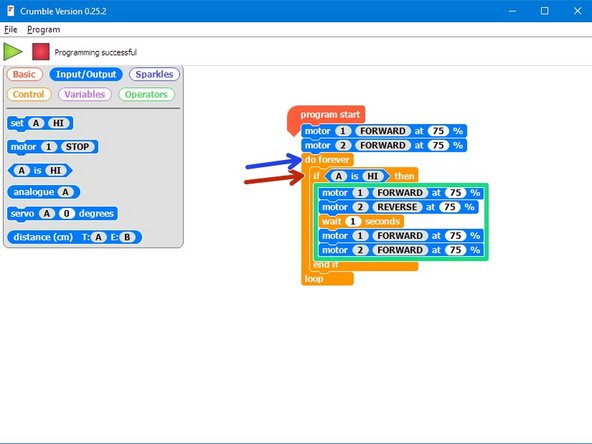
Now we can detect obstacles, let's make our robot turn out of the way and keep trying to go forward:
-
If the switch is pressed (HI), we must have hit an obstacle
-
When we hit an obstacle, turn , then drive forward again
-
When driving forwards, always check to see if we have hit another obstacle!
-
Edit your program and test it out with your hand!
-
-
-
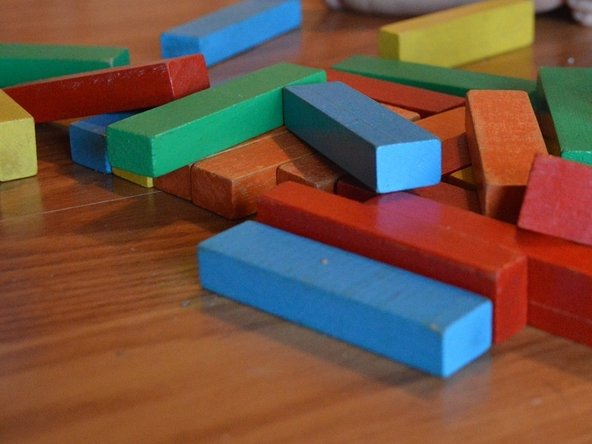
Now let's make a rock field on your Mars surface - you can use anything, so long as it is solid and tall enough to touch the switches when they are on your robot. Check out the pictures for some ideas!
-
Make sure there is enough room between your obstacles so your robot can still get through.
-
You might find your robot pushes light obstacles out of the way - you can always tape them down if you want.
-
Test your evasion program in the rock field - what do you think will happen? Will it make it to the other side?
-
-
-
You might find that your robot gets stuck when it hits a real obstacle, as it doesn't reverse a bit first when it hits something.
-
For this challenge, change your program so when it hits an obstacle, your robot reverses slightly, turns a small amount, then goes forward again.
-
Test it out in your rock field - you will need to adjust how far it reverses and how much it turns to get it working well!
-
-
-
For an extra challenge, let's add some feedback to our robot so it can tell us what its doing.
-
Add the LED module to your robot and plug it into two letters.
-
Add blocks to your program so that:
-
When driving forwards, the green LED is on.
-
When an obstacle is hit and the robot is reversing and turning, the red LED is on.
-


