Introduction
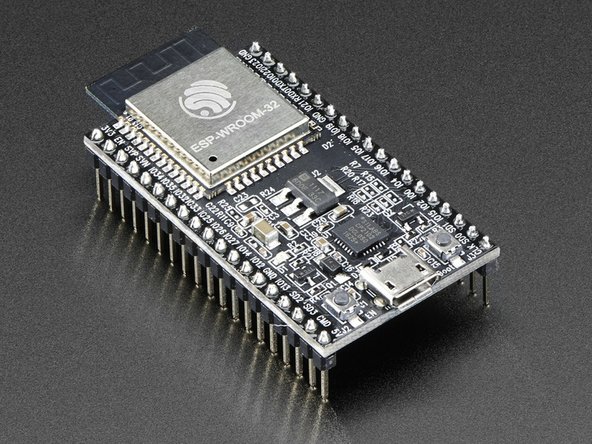
We need to install the drivers for the microcontroller in the Invent! kit, so we can use it with the Arduino IDE.
-
-
You can skip this step if you are using a Windows machine.
-
Installing the drivers on Mac is very straightforward.
-
Open the terminal and execute the following (you can copy/paste then hit enter):
-
mkdir -p ~/Documents/Arduino/hardware/espressif && \ cd ~/Documents/Arduino/hardware/espressif && \ git clone https://github.com/espressif/arduino-esp32.git esp32 && \ cd esp32/tools/ && \ python get.py
-
-
-
If you are using a Mac, please skip to step 5.
-
Download the latest board drivers as a ZIP file here.
-
-
-
Open the ZIP file you just downloaded.
-
Click on 'Extract All' in the top bar.
-
Click the browse button to find your Arduino folder.
-
Navigate to "C:\Program Files (x86)\Arduino\Hardware", create a new folder called espressif, and select this folder.
-
-
-
Click extract to extract the files. Click the checkbox to show the extracted files!
-
When the extraction is finished, rename the folder to esp32.
-
-
-
Navigate to the esp32/tools folder
-
Right click the get.exe program and select Run as Administrator to get the drivers
-
Wait for the program to finish!
-
-
-
Open the Arduino software, and go to the Tools > Board menu.
-
If you've installed the drivers correctly, you should see ESP32 Dev Module in the list. Click on it!
-
Now plug in your circuit board.
-
-
-
The port is how the computer knows how to communicate with the robot.
-
Go to the Tools > Port menu, and there should be one option called COM, followed by a number (assuming you have plugged the robot in!)
-
Select the option available in the menu.
-
If you ever have problems uploading the code to your robot, always check the port first - usually you just need to select it again!
-
-
-
Last step - we need to install a library! A library is just a collection of code that someone else has written for you, to make things easier.
-
Download the Invent! library from here.
-
In the Arduino program, go to Sketch > Include Library > Add .ZIP Library
-
Navigate to your Downloads Folder and click on the invent.zip file.
-
Finally, go to Sketch > Include Library > Invent to use the library in our program!
-
-
-
You should see the line #include <invent.h> at the top of your program if you have completed the steps correctly.
-
You are now ready to start on the activities! You will need to include the library in any program you make to use with your robot.
-


Team
