
Introduction
Learn how to assemble the controller and servo module in the Robowars kit.
-
-
Start by assembling the controller with the second micro:bit - if you bought a kit with the micro:bit included it will be inside the Robowars box, or you can use your own micro:bit instead.
-
From the Robowars box you will also need:
-
Laser cut controller plate
-
micro:bit (if included)
-
4x Sticky Pads
-
Battery Pack
-
2x AAA Batteries
-
-
-
Use a pair of scissors to cut two of the sticky pads in half, so you end up with 4 sticky squares.
-
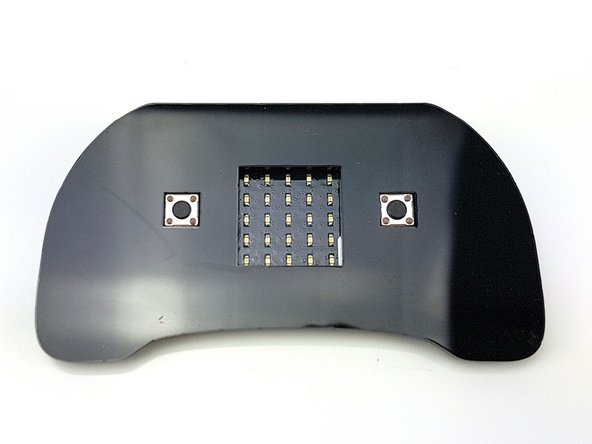
On the side of the micro:bit with the LED array, stick one of the sticky squares in each corner.
-
-
-
Peel the packing off of the 4 sticky squares, and stick the micro:bit onto the controller plate as shown in the picture.
-
-
-
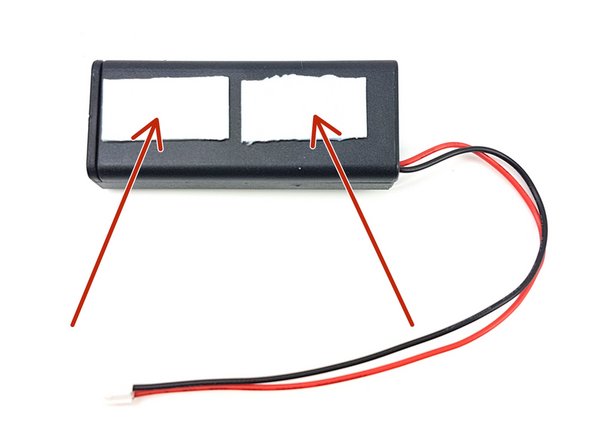
Take the other two sticky pads, and stick them onto the back of the battery pack (the side without a switch) as shown in the picture.
-
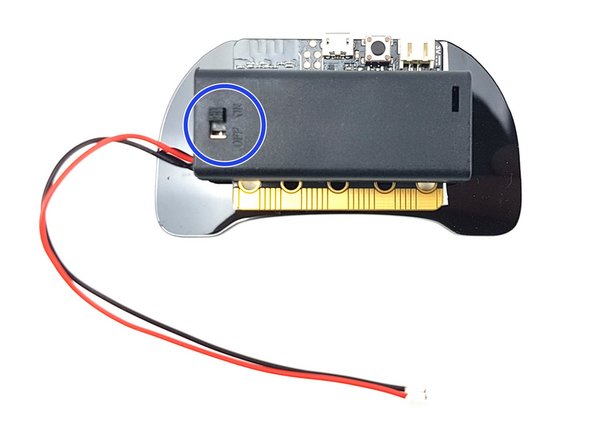
Peel of the other side of the pads and stick the battery pack onto the back of the controller like the picture - you should be able to see the switch.
-
-
-
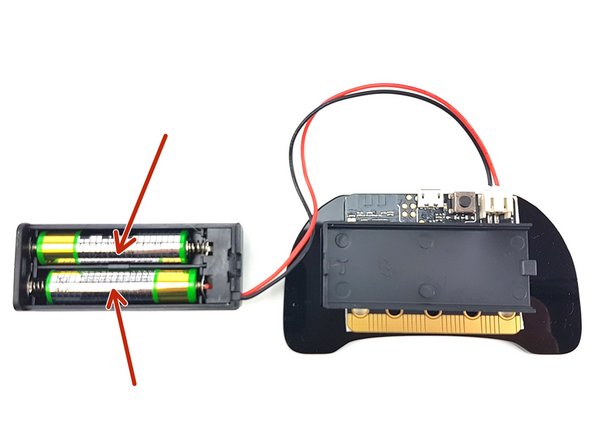
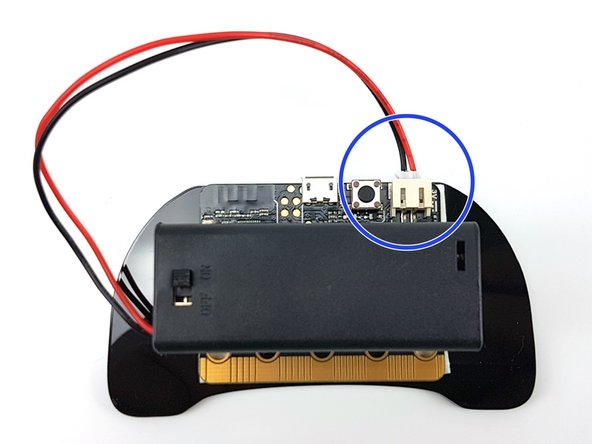
Slide the cover off of the battery pack and insert the two batteries.
-
Finally, plug the battery pack cable into the micro:bit - the controller is now complete!
-
-
-
Now you need to build the servo module so we can use it with the construction kit.
-
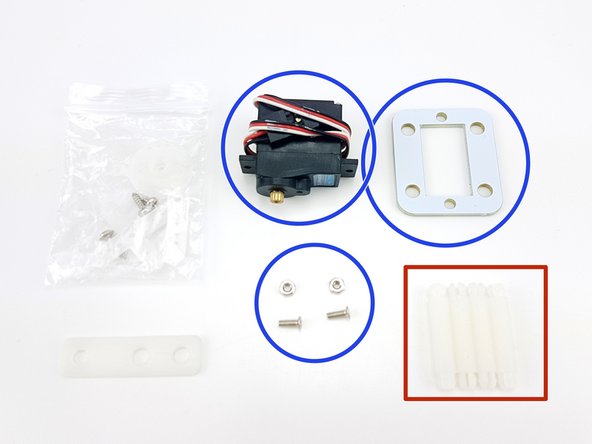
Take the pieces out of the servo module kit bag in your Robowars box - you should have all of the pieces in the picture.
-
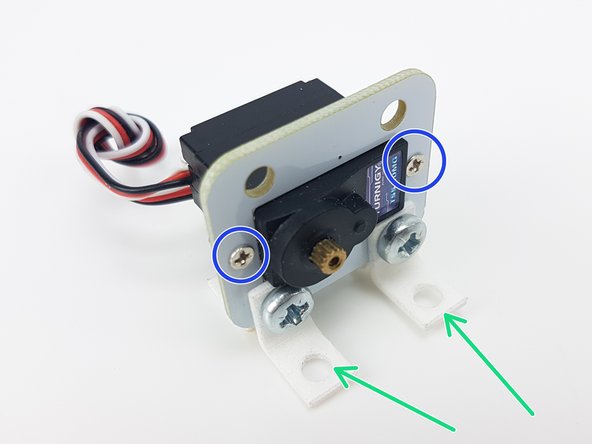
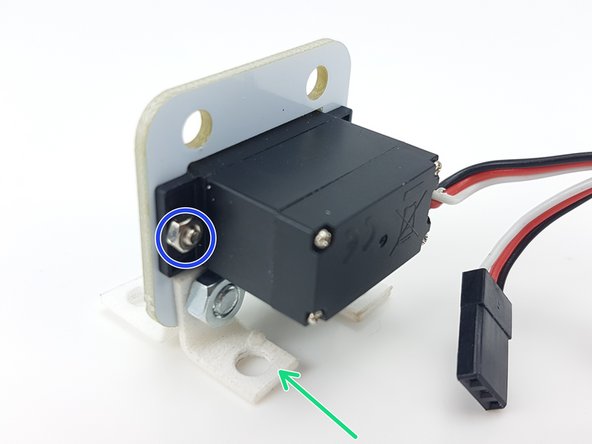
Using the two small nuts and bolts, carefully attach the servo to the PCB like in the pictures.
-
Using 2 right angle brackets from the construction kit, attach them to the bottom of the servo module like in the pictures. Then you can easily bolt it onto the baseboard.
-
You can also use the 4, longer spacers to attach the servo module to your baseboard in different ways.
-
-
-
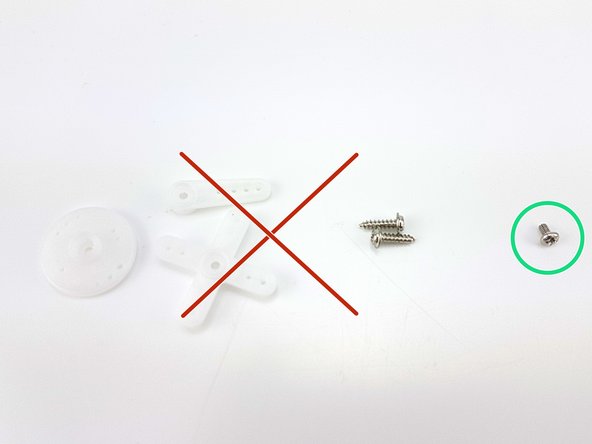
Unpack the really small bag with white plastic and screws in, and find the smallest screw - we don't need the other parts.
-
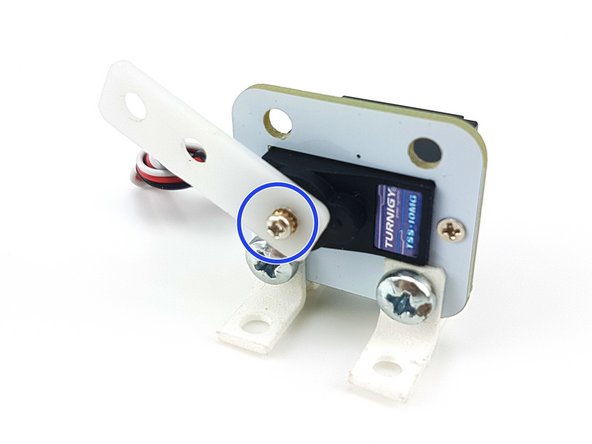
Push the large, flat piece of white plastic with 3 holes onto the servo, and use the tiny screw to hold it in place.
-
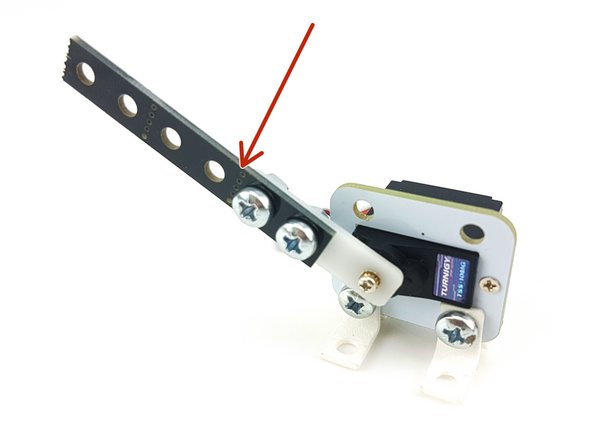
All done! Now you can use the bolts and construction kit parts to attach anything you like to the servo, such as a piece of construction kit beam.
-
If you need to re-position the angle of the arm at any time, you can always remove the screw and put the white plastic piece on in a different position. Be careful not to lose the screw!
-
-
-
You can use the servo on P0, P1, P2 or P8, using the black connector on the board.
-
You will need to remove the plastic pin protector before you can plug anything into the servo pins.
-
There are 12 pins, and each servo wire uses 3 - so we can connect up to 4 servos! Connect yours to P0 like the picture - the black wire should line up with GND on the circuit board.
-
However you use the servo, make sure it hasn't got lots of force pushing on it in the up or down position. You will probably hear the servo buzzing all the time if this is the case - if you leave it like this for too long, it might burn out - it will also drain your battery!
-


Cancel: I did not complete this guide.
One other person completed this guide.

Team
