
Introduction
See how to use your kit to build a basic flipper robot, which you can customise into your very own robot fighting machine!
-
-
It's easy to build a basic flipper robot using the Robowars kit - we'll point out some of the main ideas but the details are up to you!
-
Make sure you have built your controller and servo module before you start this guide.
-
-
-
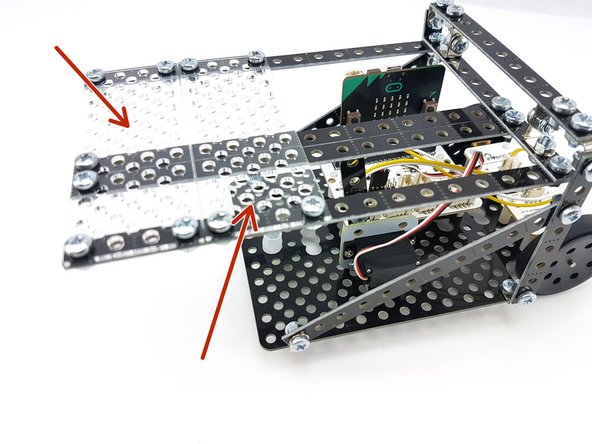
You can use the construction kit parts to make almost anything you can dream of to add to your robot!
-
The beams can be snapped or cut to any length you like, using scissors or side cutters if you have them. You can cut or snap them by hand along the join with small holes, and you can also get the material anywhere you like.
-
-
-
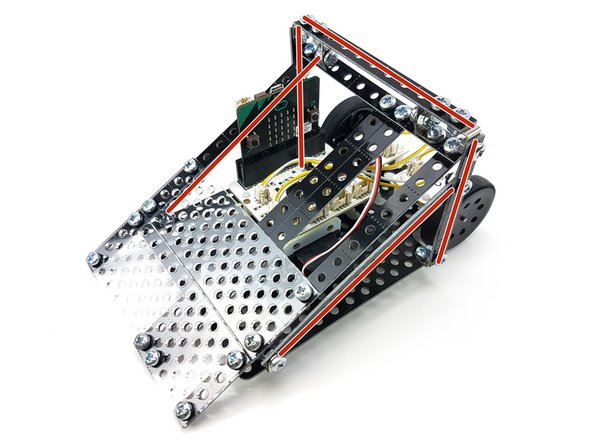
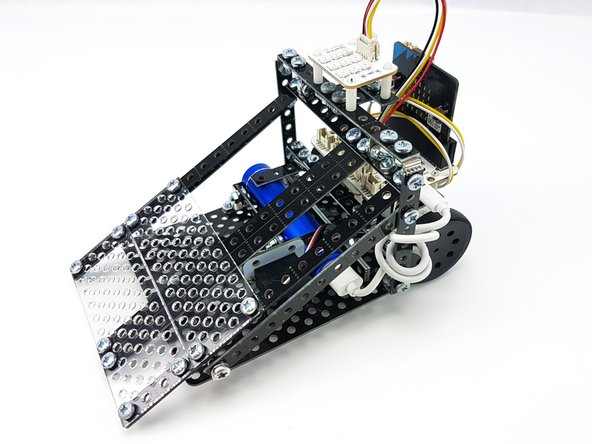
The most important part is a sturdy frame to hold the flipper up, which can support the forces from flipping other robots!
-
A simple setup of two vertical pieces and a horizontal piece is good, but not very strong - try to use a diagonal piece to make the structure really tough.
-
Try to do up all the nuts and bolts nice and tight - you don't want anything to come loose during battle!
-
-
-
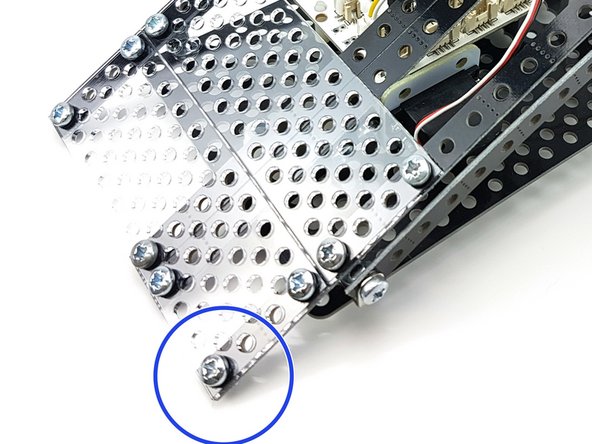
You can use the large plates and some more beams to make a really good flipper - try and keep it as flat as possible so you can drive under other robots easily.
-
Try to make your flipper such that the front is very close to the ground (but not touching). This makes it easy to get underneath and flip the other robots.
-
-
-
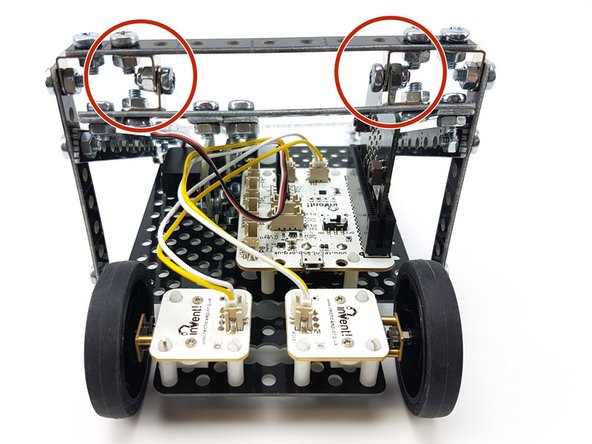
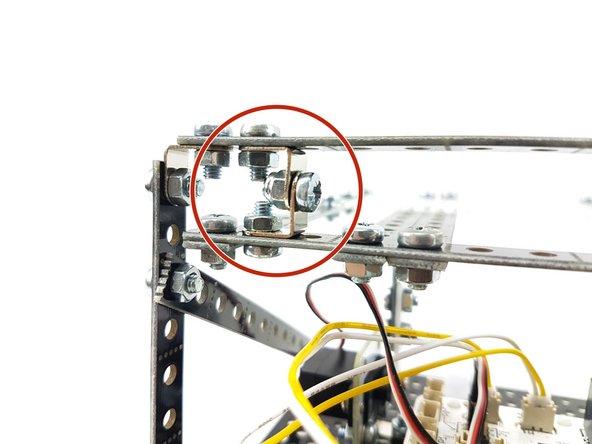
You will need 2 hinges to fix the flipper to the frame - you can use two silver brackets together like in the picture to make them.
-
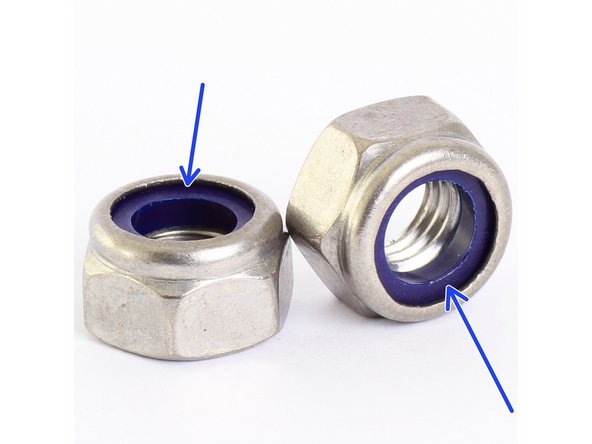
Instead of normal nuts, use the special Nyloc Nuts (with the blue ring) for the hinges - these nuts grip onto the bolt so that they can be left loose (so the hinge can rotate), but won't work their way off of the bolt during battle.
-
-
-
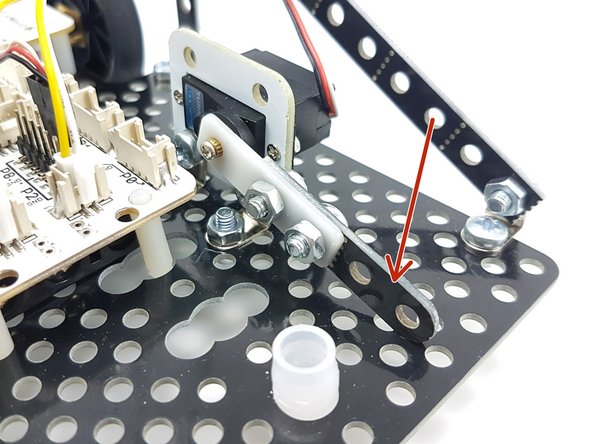
The servo works best for activating the flipper if it isn't attached directly - connect a small arm to the white plastic part like in the picture, and round of the end with a file.
-
This rounded end can then rub up against the underside of the flipper to push it up and down - make sure there is a flat surface for it to push on on the underside of the flipper!
-
However you use the servo, make sure it hasn't got lots of force pushing on it in the up or down position. You will probably hear the servo buzzing all the time if this is the case - if you leave it like this for too long, it might burn out - it will also drain your battery!
-
-
-
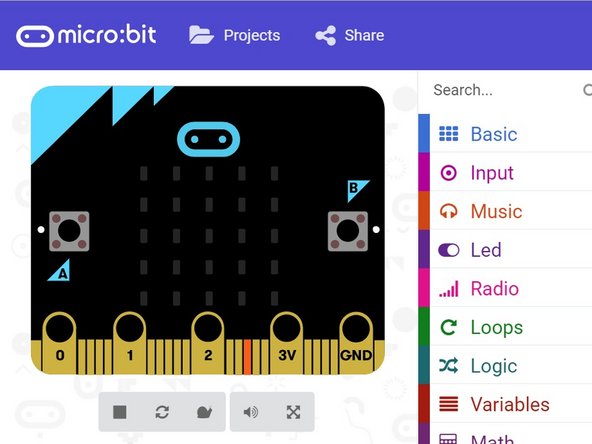
If you're using drag and drop programming, please see this guide for instructions on how to load, save and transfer programs to your robot.
-
If you're using python textual programming, please see this guide for instructions on how to load, save and transfer programs to your robot.
-
-
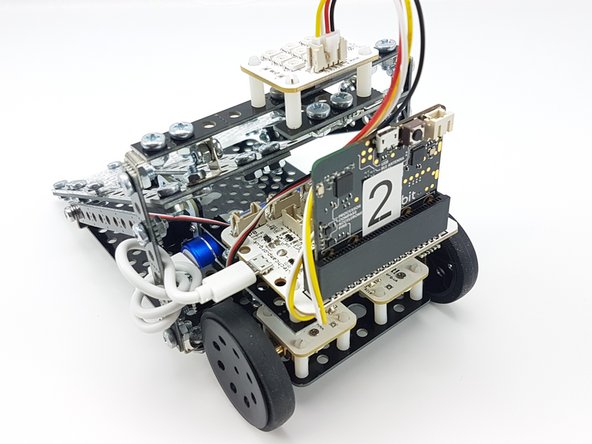
Be sure to upload the transmitter program to your controller, and the receiver program to the robot!
-
-
-
Hopefully your robot should work something like the video!
-
-
-
There's no limit to the things you can add to your design! Some ideas:
-
A rechargeable USB power bank for extra running time
-
Centre mount above the wheels for the main board
-
Sparkle module on top for team colours (sold separately as part of the Explorer Modules kit)
-
Custom body panels and armour - you can use any material you like and simply make holes in it to attach to your robot
-


Team
